
by - Tremorwave
![]()
Set the brush as above and brush across the canvas until you have a similar look to the one below.
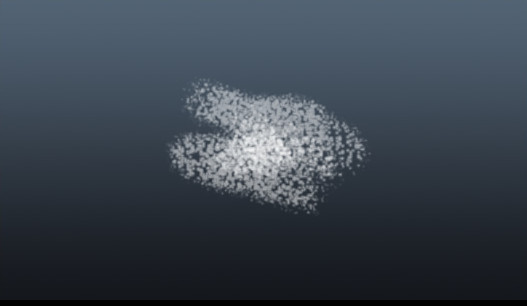
Apply the filter --> Distort --> Ripple Effect with the standard settings repeat a further four times until you achieve the look similar below.
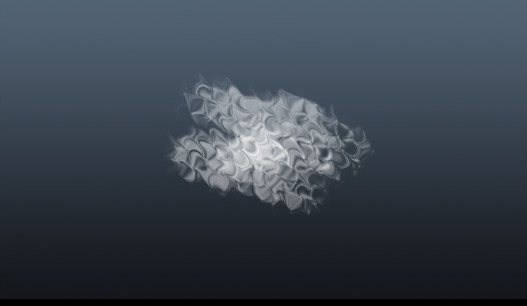
Apply the Filter --> Blur --> Radial Blur Zoom 50%
click Edit --> Fade Radial Blur --> 75%.
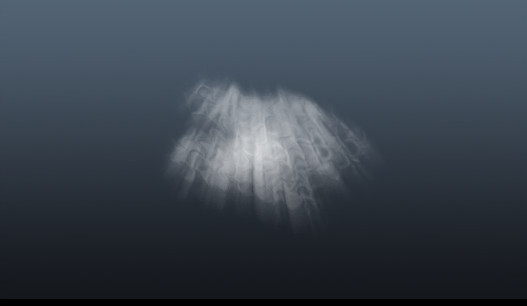
Set the eraser as above and brush lightly across the canvas until you have a similar look to the one below.
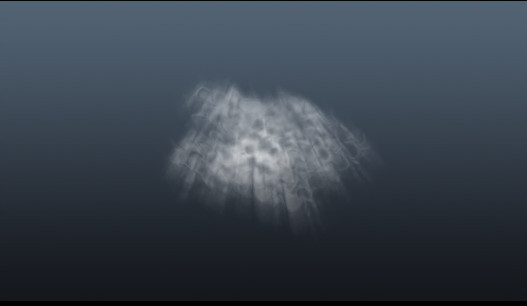
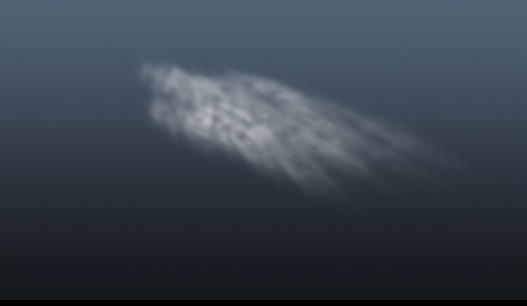
Here is an example of it in use.
