by - Chris Mayernik
I assume that you have a pressure sensitive drawing tablet such as a Wacom Intous 2. Without the pressure sensitive pen you are not going to get the kind of results that I do in this tutorial.
Ok, let's get started.
Step One
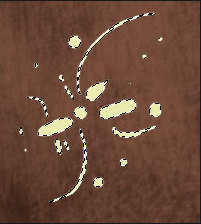
First Create a new layer for the brush to be painted on. Also, make sure you are on the new layer when making your brush because this is important later on. With any of the brushes you have already create a shape. It does not need to be neat and symmetrical. Experimenting with the shapes can lead to great textures, so don't be hesitant to try something new.


Now that you're done designing your brush, you need to select it. To do this, hold down the Ctrl Key while clicking the layer that your brush is located on. You should now have only the brush selected.
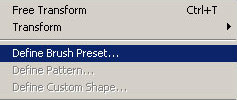
Go to Edit/Define Brush Preset at the top left of the screen.
Give your new brush a name.


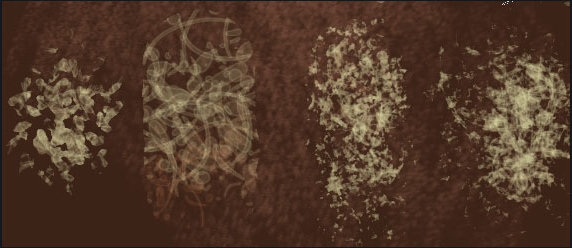
Now you can select your brush by going to the brush tab at the top left. Scroll down to the bottom and you will find your new brush. You are not done yet locate the brushes tab, normally located on the top right, and customize your brush. There are no right and wrong settings, but here are the settings I used. ( View image )
Shape Dynamics
Size jitter: Pen Control
Minimum diameter: 40
Angle jitter: 30 percent
Scattering
Scatter: 90
Count: 2
Count jitter: 10
For the Dual Brush setting I chose a dotted brush I created the week before. The mode is set on color burn, but trysetting the mode to multiply to get a completely different effect.
You new brush is ready to use, but before you use it make sure to save the brush set it is in, and save the brush as a new brush preset so when you work it will be easily available with the right settings. To save the brush presets find the tool preset tab, click the small arrow on the right, and finally click new tool preset. Give the preset a name and that's it. Enjoy your new brush.
