by - Mair Perkins
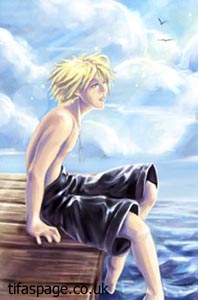
On the shorts I started with the dark shades. I then got a dark purple and brushed it gently over the shadows. This gives more depth than just making the same colour darker and lighter for shade. I used a lighter colour on the edge of shadows, which makes a material look very shiney =3 I then built up more shades and highlights with the help of colour dodge.
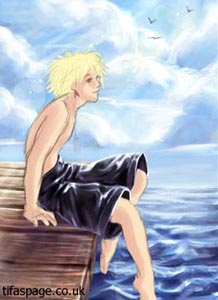
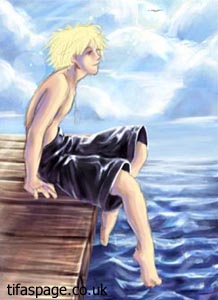
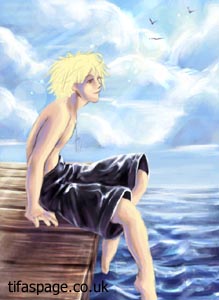


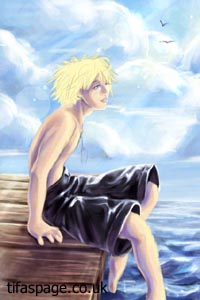
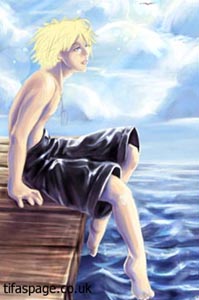
I started colouring the skin with peachy colours at first but then working in browns, blues and purples in the shadows and yellows into the highlights. Once I was satisfied that the layers of colour were built up enough, I erased the lines I felt I no longer needed from the line art layer. I then flattened the image. This means that I can continue painting but everything is on one layer like a traditional painting. I just continue to build up colours and shade and as I progress, I paint over what remains of the line art or leave it as I think appropriate (eg. the eyes).
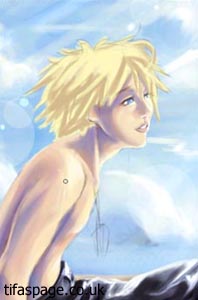
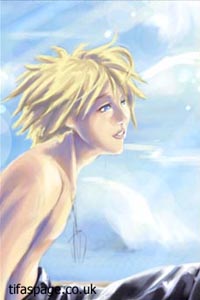

I applied the method of shading with a different colour once again to the hair. I used a much brighter yellow on some of the hair and put colour dodge brush highlights near them.
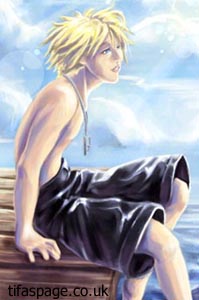
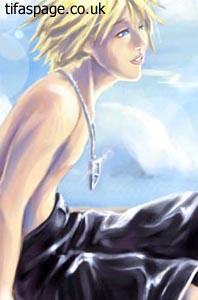
I coloured the necklace by using a dark blue grey and a warmer grey. I then put in surrounding colours in the darker parts to make it look like reflection. I used colour dodge on the necklace then soft brush stroked across parts to look like light is bouncing off.