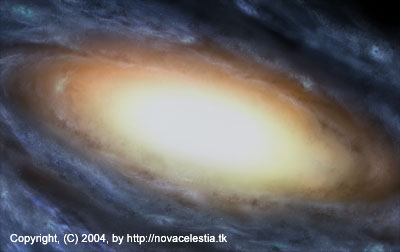
by - Padawan
Introduction: Also, before you read this, I'd like to tell you that if you dont like brushing, then making galaxies is definitely NOT for you. Galaxies require much brushing, time and effort. |
What you need to know
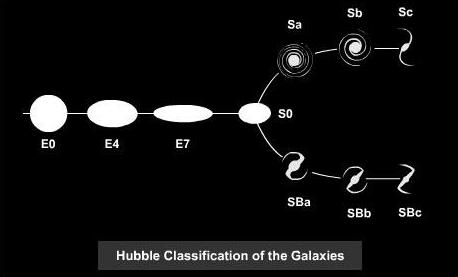
about galaxies:
|
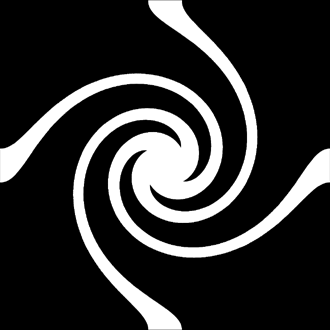
Getting started: Of course, you could start painting your galaxy immediately, but personally, I prefer a guide. So, the first thing I do is to make a new, square document. In this document I create a guide shape that will help me paint the base of my galaxy later. What I do to get this shape is make a layer with a rectangle and copy that layer, then i tilt it 90 degrees, which gives me a cross. Later I merge the layers and then apply the (Distort--->) "Twirl" filter on it. In the image above I think I twirled it 540 degrees. The size of your guide depends on the size you want your final galaxy to be. |
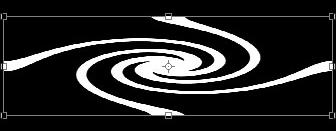
Choosing angle Ok, now the guide layer is there, all I have to do is to plan from what angle I want to paint the galaxy. In this case I chose to view the galaxy from above, with no tilt horisontally. |
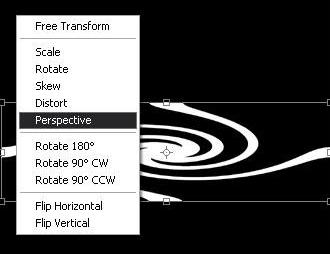
Adding perspective Adding perspective to galaxies is a crucial part, it gives more depth to it, and so the guide should have it too. |
Brushing Ok, so now when the guide is ready, grab your brushes and start brushing with a low opacity, choose your colours and just follow the guide. Keep in mind though, you shouldnt brush only where your guide is, between the arms there is mass too. What you should do is to emphasize the arms. When your brushed galaxy has a shape that is close enough to resemble a galaxy, remove the guide layer! Now you are free from the guide and now you really have to think about the concentration of the gas.
This is what one of my galaxies look like when the a decent amount of the brushing is done. "Nothing Matters" looked like this at a stage. The image is seen at roughly 10% so you do not see many details. |
The Core
All I did was that I made a lense flare and then spinned it to 100% using the radial blur. Then I adjusted the shape of the core using levels. Then I set the blending mode to screen and experimented some more. |
Adding stars I set the layer mode to color dodge as the stars will only appear within the galaxy or in it's vicinity (where you have applied any paint) ~ End |
